
Main Menu
Hub for Arrange, racks, LFOs, snapshots, the open project, settings, and return to Perform.
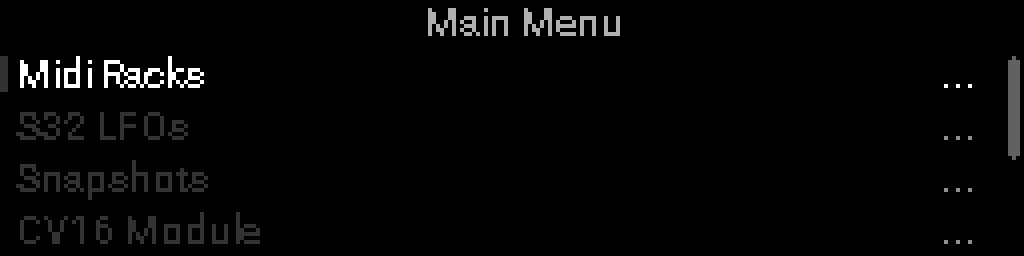
Every destination is on screen at once as a tile, so there is nothing to scroll. The grid is always four across and two down. The highlighted tile uses the same four-corner mark as other lists, and its name is bright; the others stay dim. SETTINGS is the bottom-right tile. Its name and icon use the same brightness as every other tile. Empty cells have no name and the encoder skips them. The open project’s name sits in a left tab, lined up with the same left edge as the knob number on Perform. MAIN MENU stays centered in the title band.
INFO
Most other menus use a title bar at the top and a scrollable list below (see Controls for list navigation). Perform is different — see Perform View.
In those lists, rows that open another screen show a three-line list icon on the right; rows that run an action immediately show a ring and dot icon.
| Tile | Opens |
|---|---|
| Arrange | Song grid (SONG + pencil) |
| Racks | Rack list for the active project |
| S32 LFOs | 16-LFO grid |
| Snapshots | The knob bank’s live 4×8 pad |
| CV16 | Expansion menus when hardware is connected (appendix — guide coming soon) |
| Project | Project Settings, Library, Save, Rename |
| Settings | Note names, firmware, Storage Info, migrate all projects |
Top row, left to right: Arrange, Racks, S32 LFOs, Snapshots. Bottom row with CV16 connected: CV16, Project, an empty cell, Settings. If CV16 is not connected, Project sits in the bottom-left cell so there is no empty gap before it, then two empty cells, then Settings. Settings stays bottom-right either way.
Controls: Turn the encoder encoder = move between tiles (left to right, then down, skipping empty cells, stopping at the ends like every other list); Select = open; Back = return to Perform.
Open from Perform or the Knobs Grid with hold Select + Back together.