Knob index and name
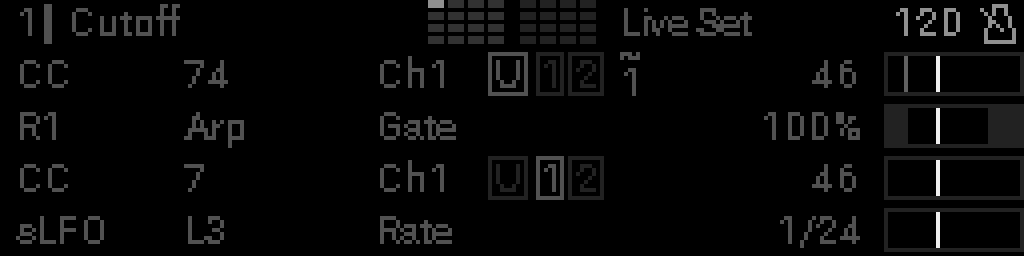
Knob index and knob name — which physical control you are viewing (here 1 — Cutoff). Set the name in edit mode or the text editor.
Appearance
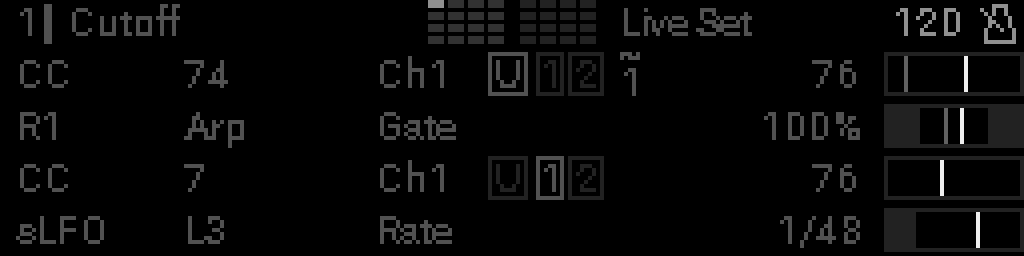
The Perform View is the home screen after power-on. It shows the selected knob, its four macros, live macro indicator bars, and the active project name and tempo in the header.

Example: knob 1 — Cutoff in project Live Set. Four macros with different modes; macro rows 0 and 1 have LFO modulation (second line on the matching bars).
The top strip always shows where you are in the project and on the panel — read it left to right (numbered 1–4 on the screenshot).

Knob index and knob name — which physical control you are viewing (here 1 — Cutoff). Set the name in edit mode or the text editor.
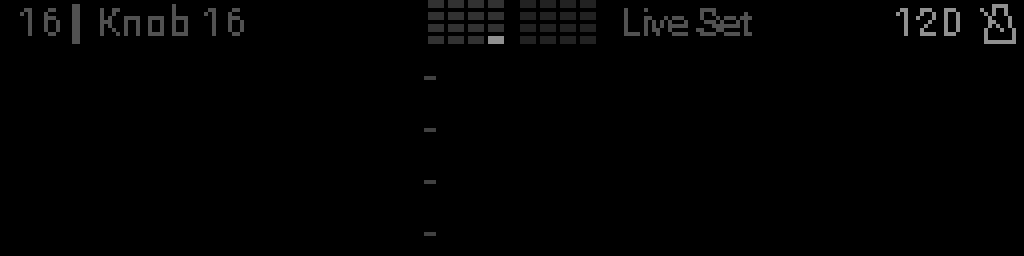
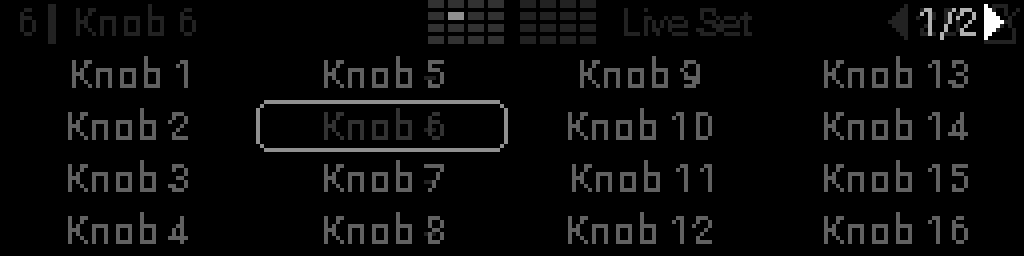
Map of all 32 knobs; the framed cell is your current selection. Left half = knobs 1–16, right half = 17–32. Turning the encoder opens the full Knobs Grid name list.
The active saved setup (here Live Set). Rename from edit mode or Main Menu → Projects.
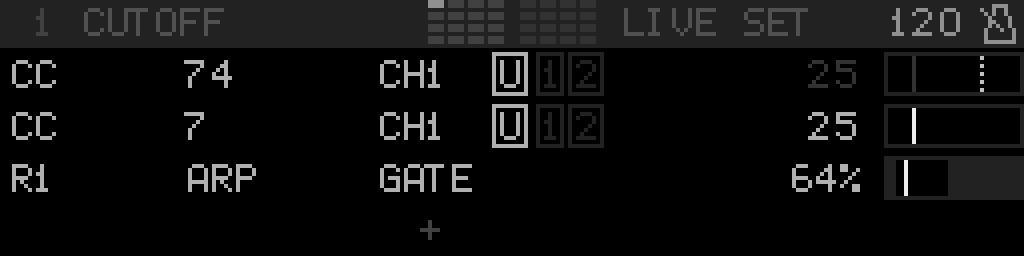
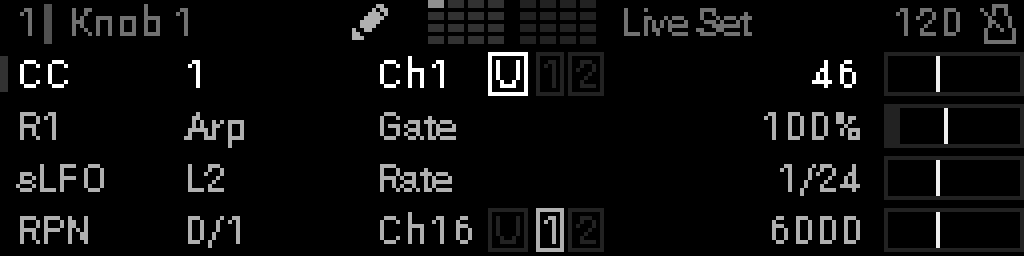
Four rows — one per macro. Each row is a live readout of what that macro is doing while you turn the knob (mode, target, current level). The exact labels depend on how the macro is configured — CC rows look different from device or LFO rows.

Rows 0–3. An LFO badge (~) on a row means an LFO is modulating that MIDI macro (rows 0 and 1 here).
For a full explanation of each row type, see Macro rows on Perform — Classic MIDI, Device parameter, LFO parameter, CV16 control.
Press Select (short) Press Select to enter edit mode and change macros.The vertical bars on the right mirror the four macro rows: one bar per active macro. They show the same value the knob is sending, scaled to each macro’s min/max range.

Bright line — current value from the knob. Dimmer line — LFO-modulated level when assigned (rows 0 and 1). Gray bands outside the bright area mark a restricted min/max range (rows 1 and 3). Row 2 is inverted: high values move left instead of right.
Turn the knob to move all value lines together. LFO lines animate with the assigned LFOs during performance.
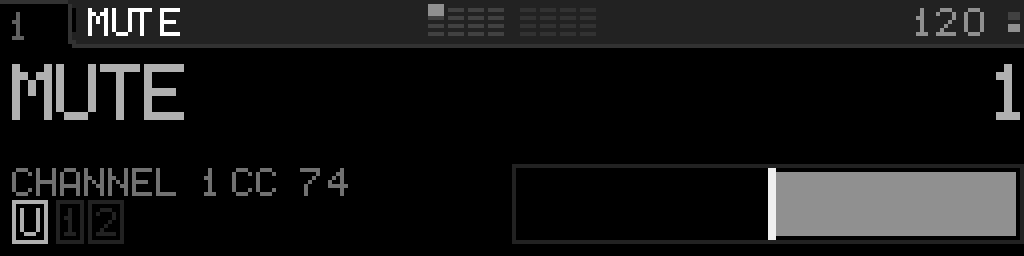
Press Select (short) Press Select on Perform to enter edit mode and change macros, the knob name, project name, or BPM.| Control | Action |
|---|---|
| Turn the encoder Encoder | Select knob 1–32 (no wrap). The first turn also opens the Knobs Grid overlay; keep turning to move the highlight through all names. After 2 s idle, the overlay closes. |
| Press Select (short) Select | Enter edit mode for the selected knob |
| Hold Back and Select together Hold Select + Back | Open Main Menu |
| Turn a panel knob | Jump to that knob on screen and send macro MIDI (when configured) |
Knobs are numbered down each column: 1–4, 5–8, … 29–32. The left half of the panel and mini-grid is knobs 1–16; the right half is 17–32.

Two ways to change which knob Perform shows:
| Input | What happens |
|---|---|
| Turn a panel knob | The display jumps to that knob immediately. Macro MIDI is sent when configured. |
| Turn the encoder Encoder | Changes the selected knob without moving the physical control. Opens the Knobs Grid so you can read names and settings before touching the panel. |
Use the encoder when you want to look ahead — for example, check knob 12’s macros while leaving the physical knob where it is. Turn the actual knob when you want to perform and send MIDI.
INFO
If you move more than one knob at once, the display stays on the first knob that moved until it stops; other knobs still send MIDI, but the screen does not jump between them.

While the grid is open, macro-bar animation on the underlay is frozen. Navigation and closing: Knobs Grid.

Each knob has four macros. Configure them in edit mode — see Macros.